This Abyssus guide will show you the locations of surge fissures in the lobby. You can find all surge fissure locations in the lobby by looking at the screenshots below. Finding the fissures will help you find the achievements.
You can also check out our guides for Gardens, Abandoned Temple, Sanctuary, and Royal Abyss for surge fissures in other locations.
Abyssus Surge Fissures in Lobby
There are a total of 8 wave fissures in the lobby. Here are their locations:
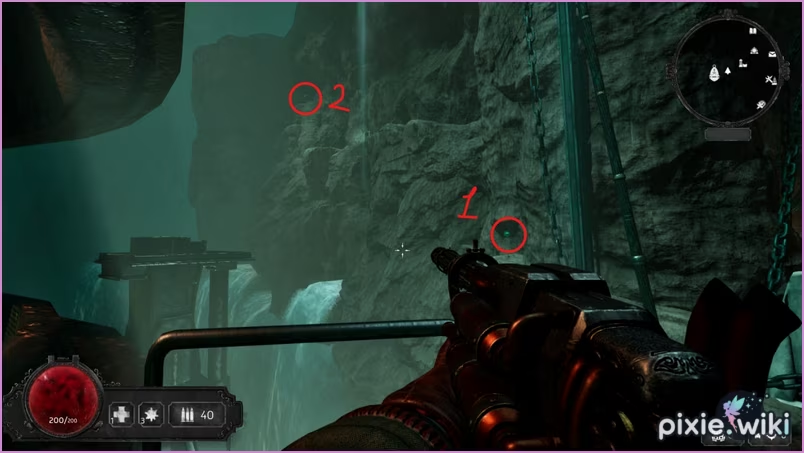
1-2. Surge Fissures
The first two fissures are located along the cliff wall near the Diving Bell and Soul Wheel. One is close to the bell itself, while the second sits further down the same cliff face.
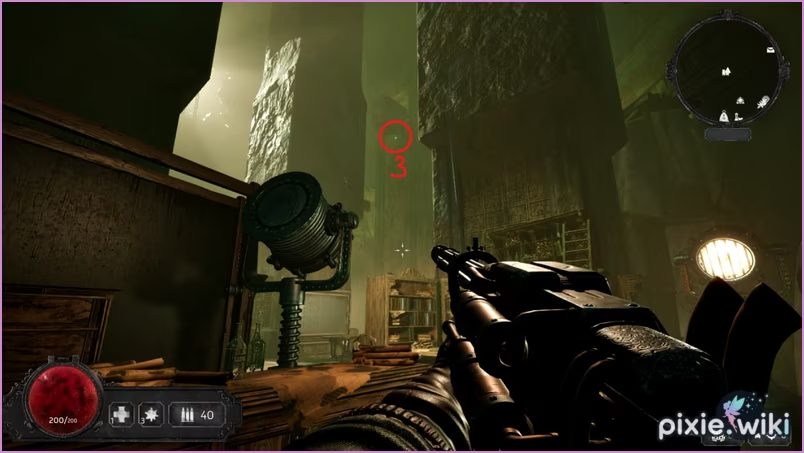
3. Surge Fissure
From the Soul Wheel, head through the nearby open doorway. Look upward a fissure is tucked beneath a platform near the entrance in the wall.
4. Surge Fissure
Move toward the pier at the back of the camp. On the far right, climb onto a small outcrop past the wooden deck, then turn the corner to spot the fourth fissure.
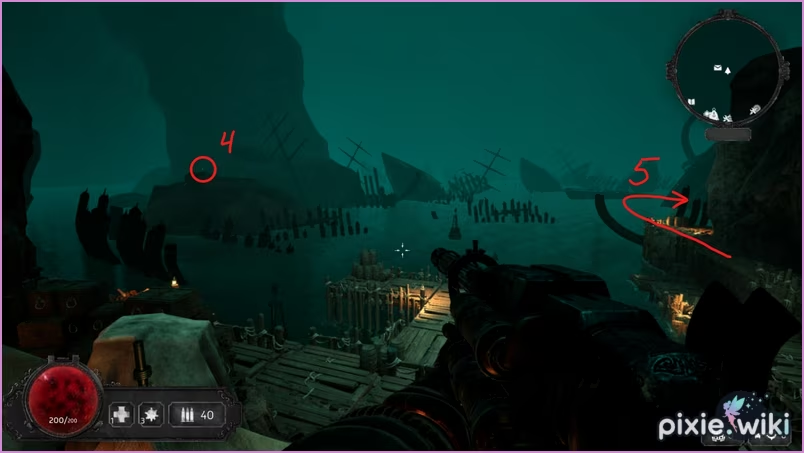
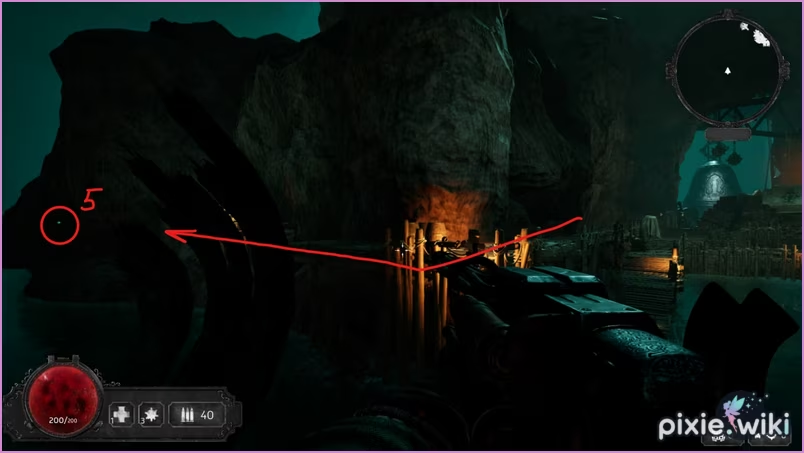
5. Surge Fissure
Return to the pier and look out toward the water. Near the wrecked ships, a large rock holds the fifth fissure.
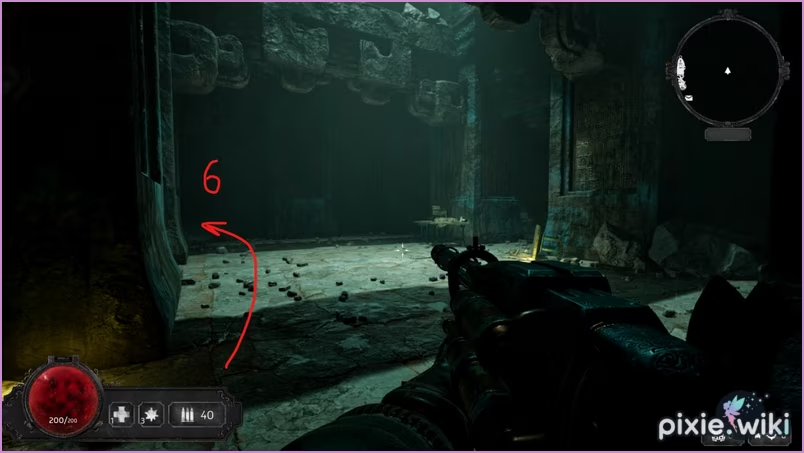
6. Surge Fissure (Waterfall Cave)
After shooting the fifth, check the nearby waterfall. Jump through the water to reveal a hidden cave. Inside, in one of the corners, you’ll find the sixth fissure.
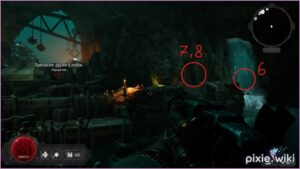

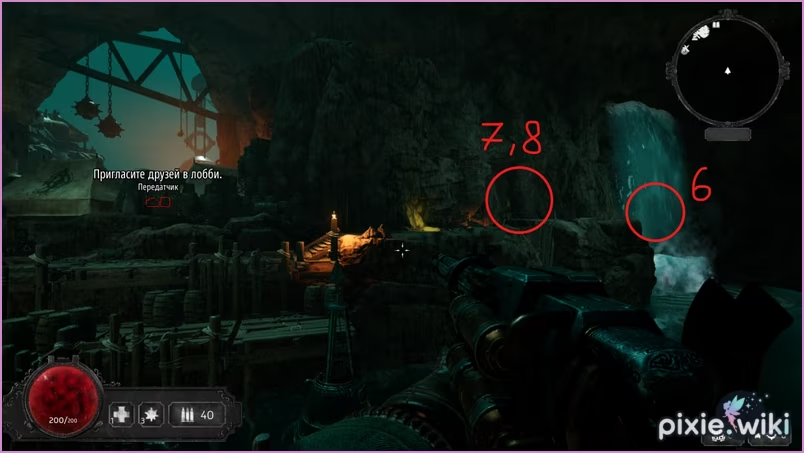
7. Surge Fissure
Go back toward the path leading to the waterfall cave. From here, access the room containing the second fissure. Use the switch by the ledge to activate a jump pad, then begin climbing the pillars and platforms toward the doorway in the wall. Once inside, drop down a short ledge and turn around the seventh fissure is here.
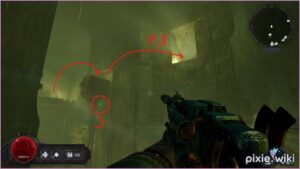


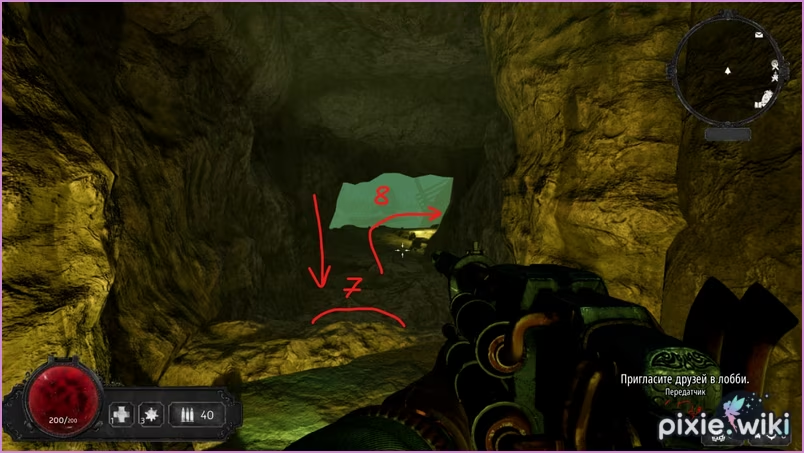
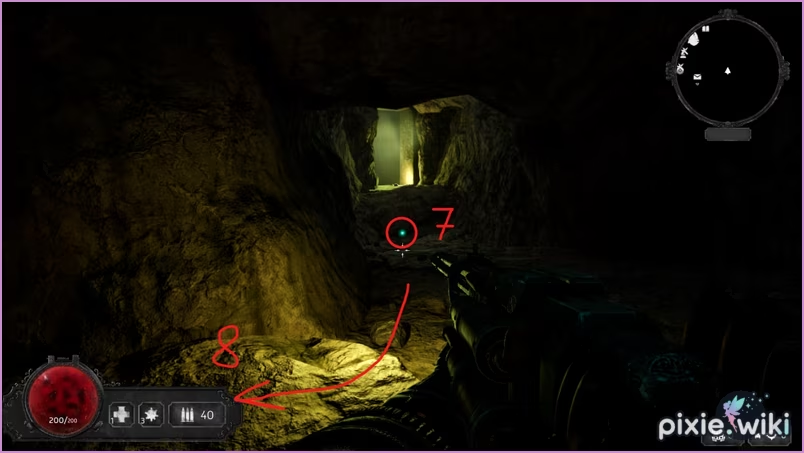
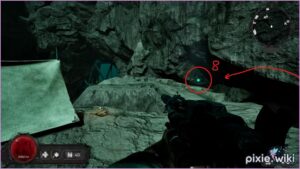
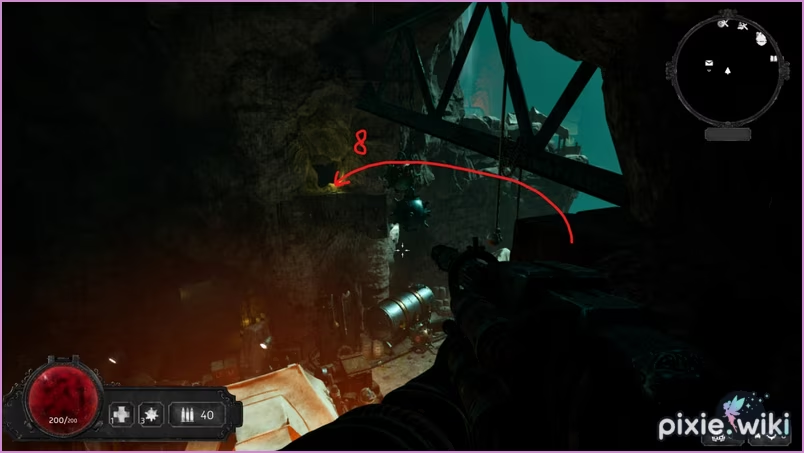
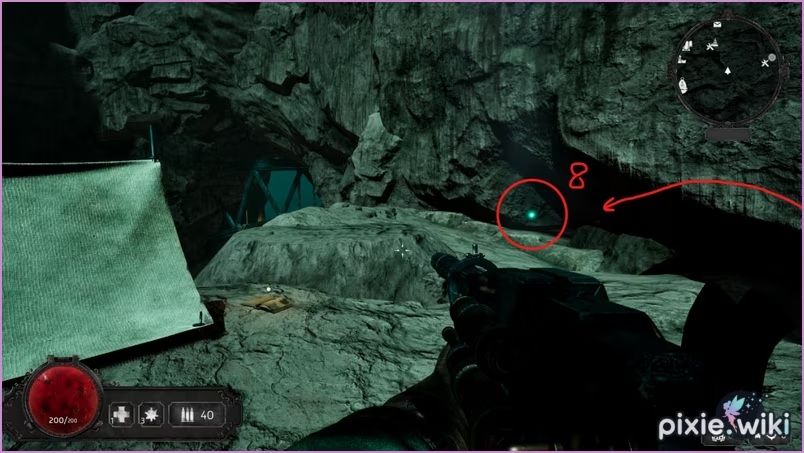
8. Surge Fissure
From the seventh fissure, continue following the path. Look for a cave opening above the main camp tents. Double jump and dash across the gap to reach it. At the top, near the rock wall, is the eighth and final fissure in the Lobby.